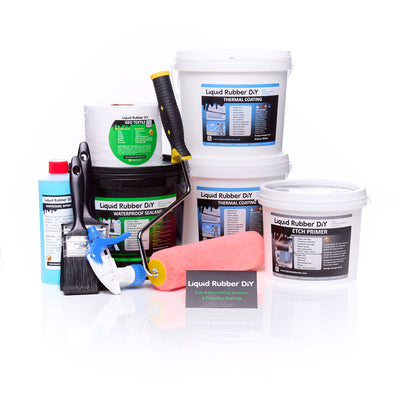
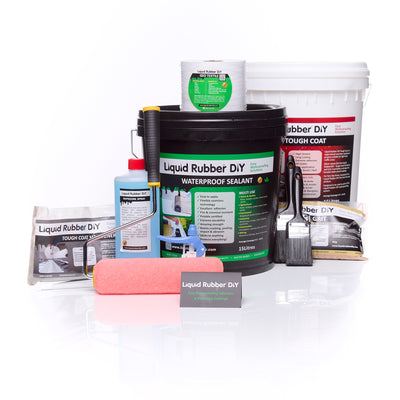
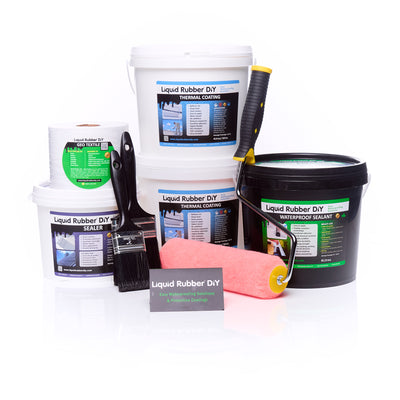
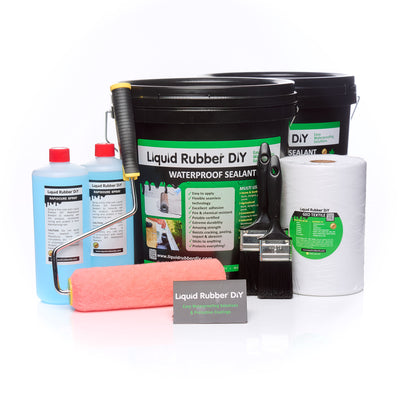
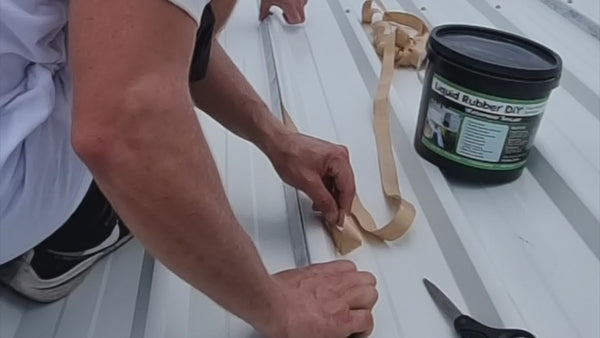
The Seam Tape is designed to seal gaps, seams, tears, and joins. Apply a generous 2-3 coats on top of seam tape using our Waterproof Sealant to form a durable waterproof protective seal and prevent UV damage. Follow by Sealer/Primer or Etch Primer and Thermal Coating (min. 3 coats to allow for movement and flex).
What is Seam Tape?
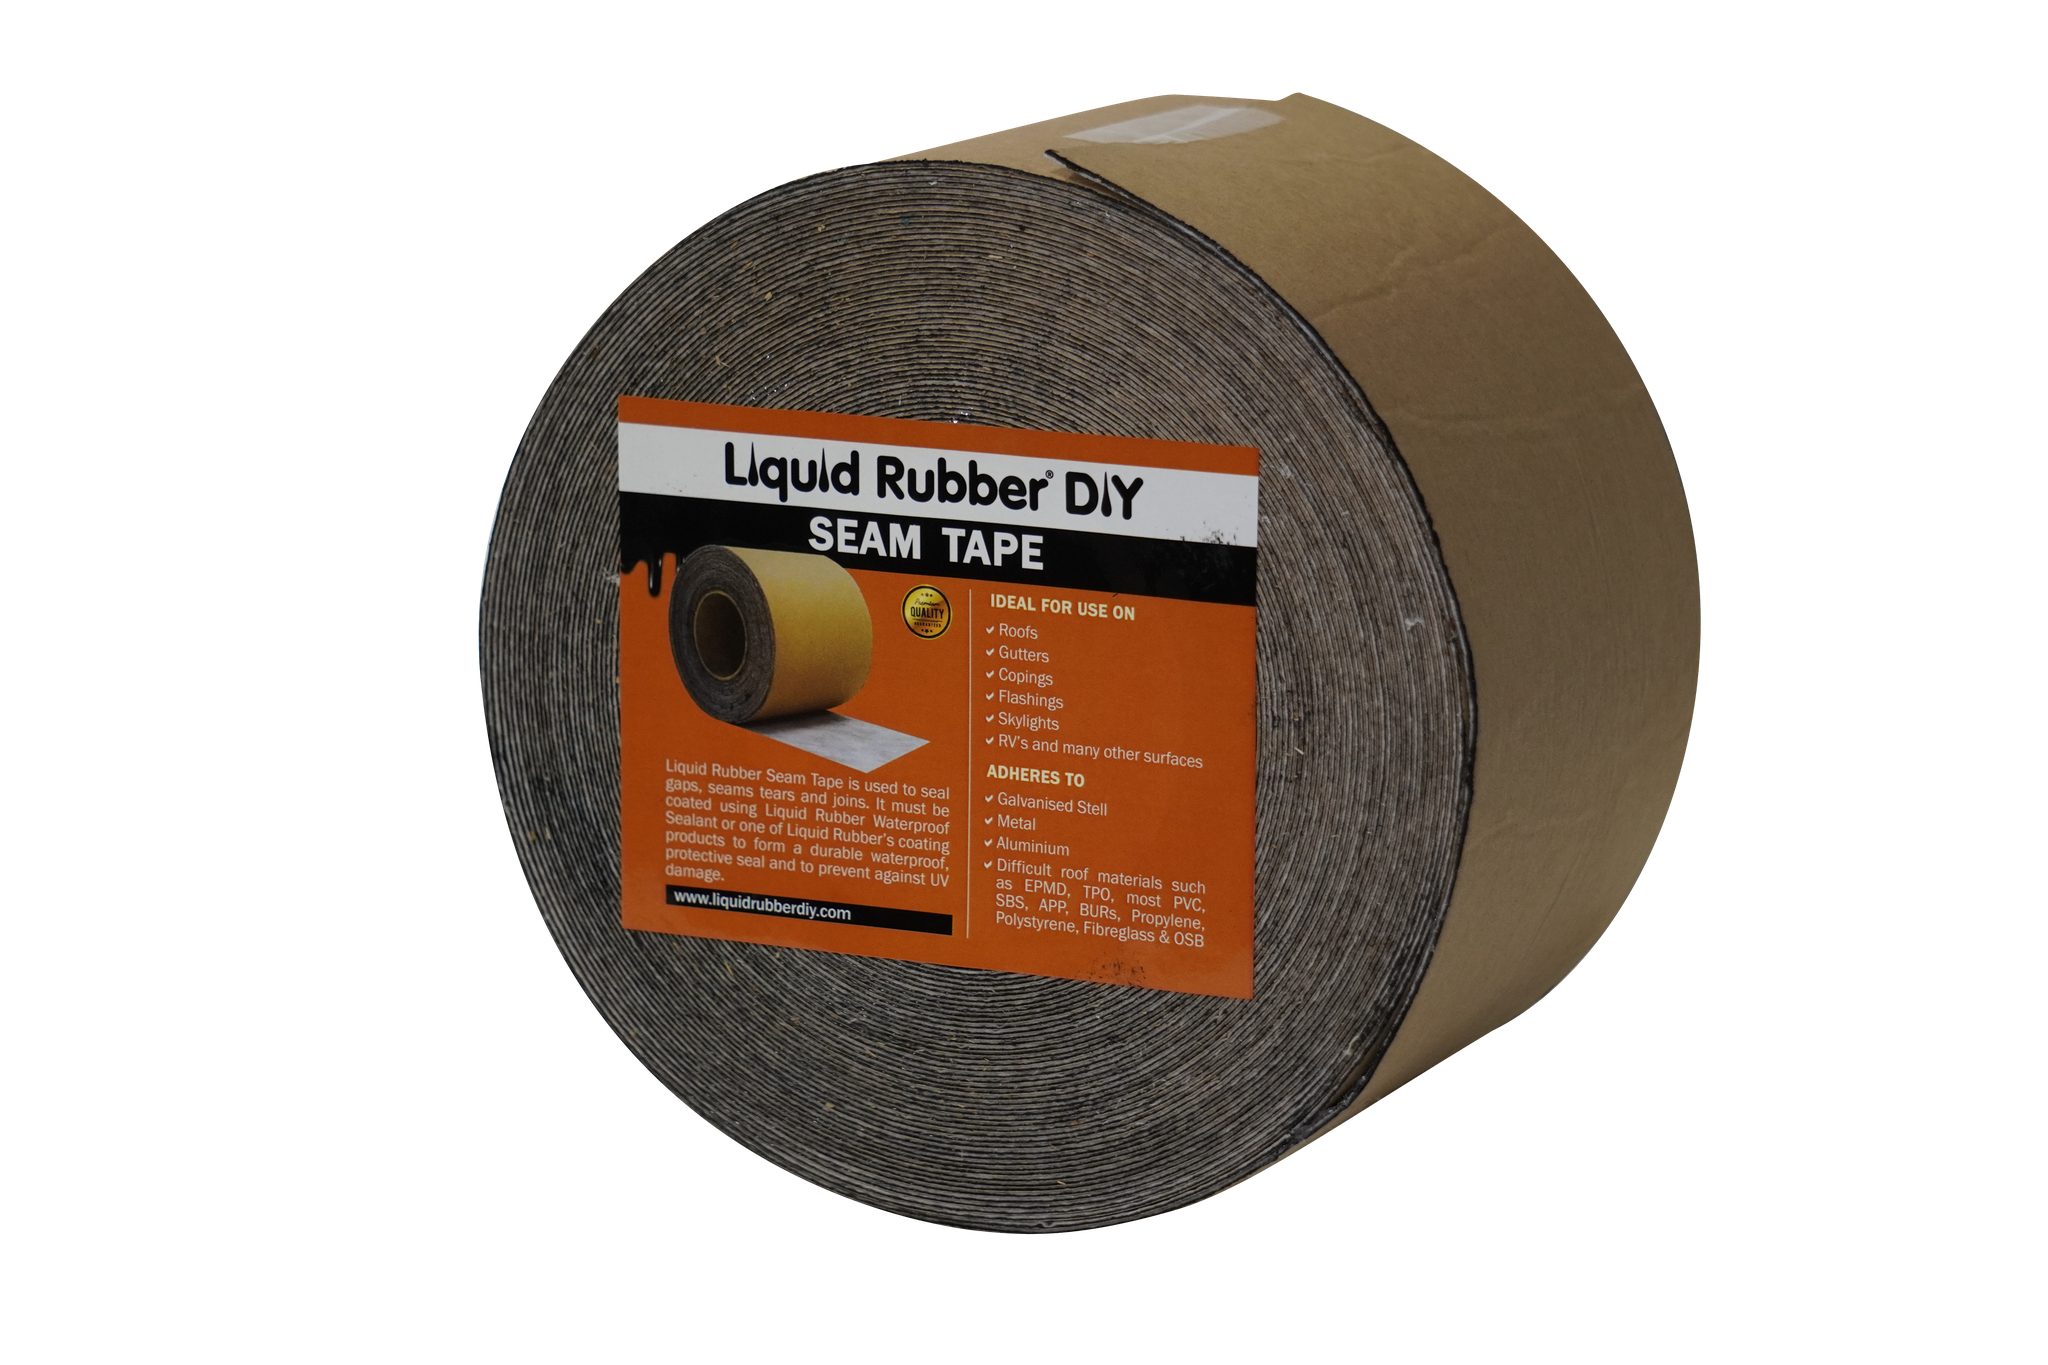
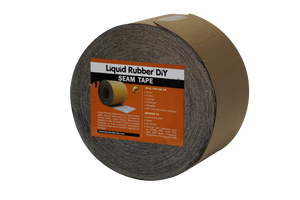
The Seam Tape is designed to seal gaps, seams, tears, and joins.
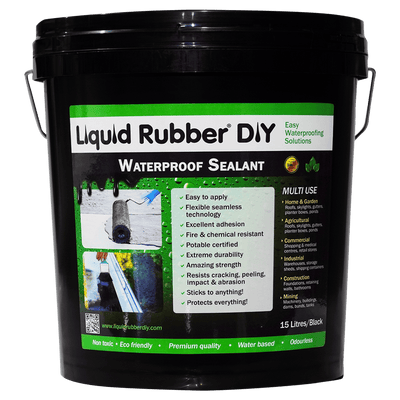
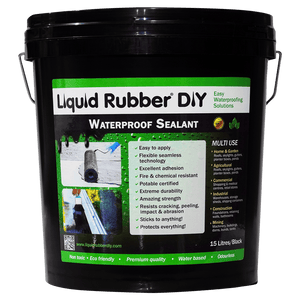
Apply a generous 2-3 coats on top of seam tape using our Waterproof Sealant to form a durable waterproof protective seal and prevent UV damage.
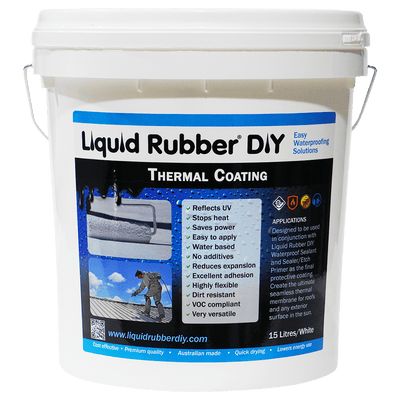
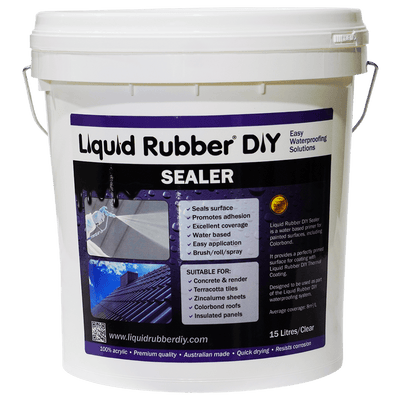
Follow by Sealer/Primer or Etch Primer and Thermal Coating (min. 3 coats to allow for movement and flex).
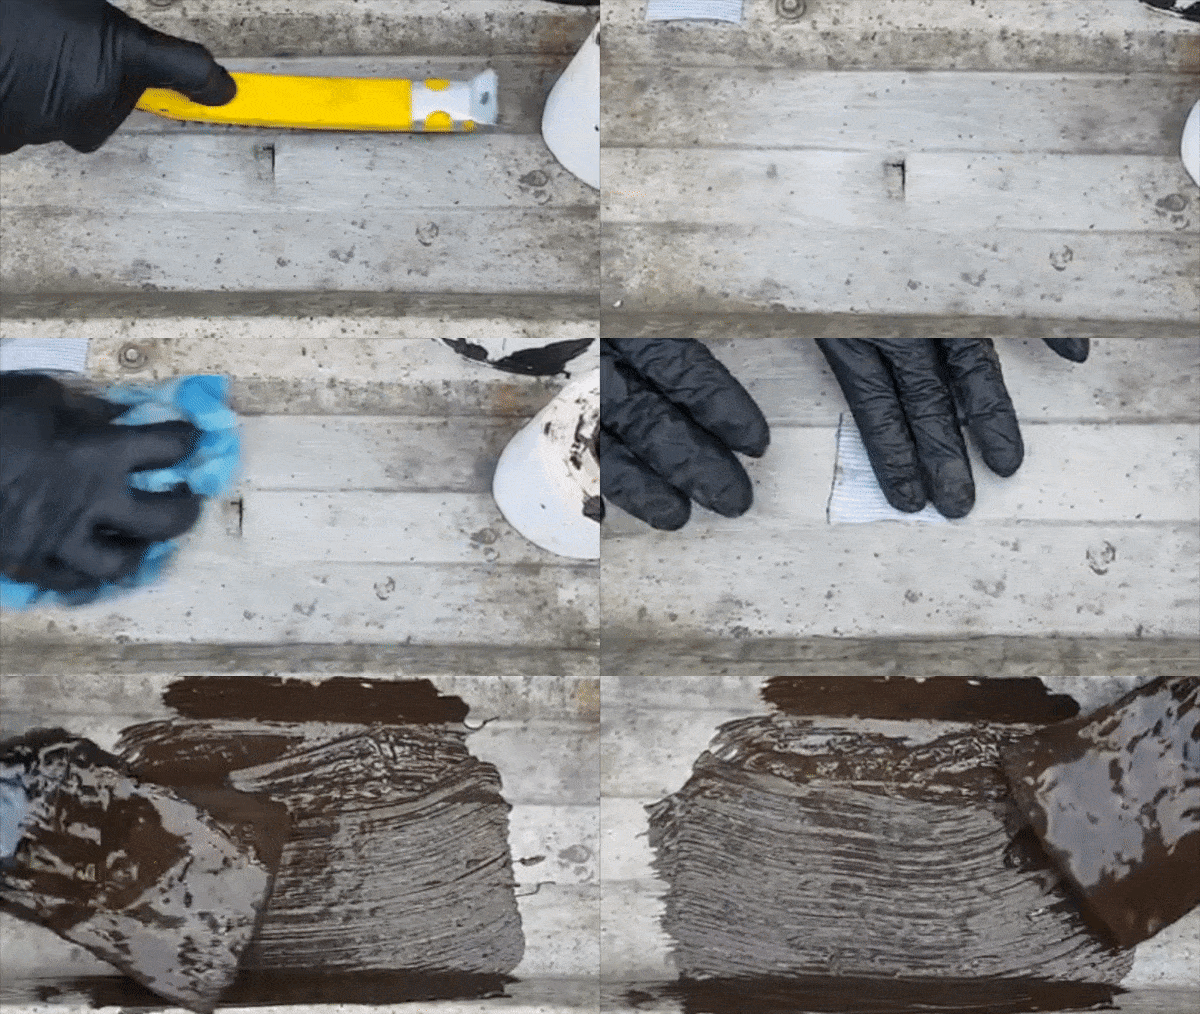
How To Apply the Seam Tape
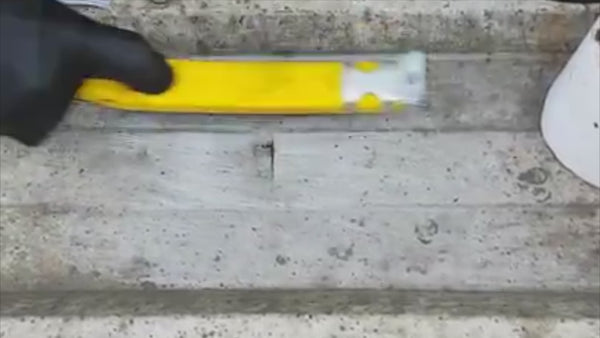
Step 1: Clean the Surface
Step 2: Apply the sticky Seam Tape.
Step 3: For best results, apply 2 - 3 coats of Liquid Rubber Waterproof Sealant on top of the Seam Tape.
Watch the Video on how to apply the Seam Tape
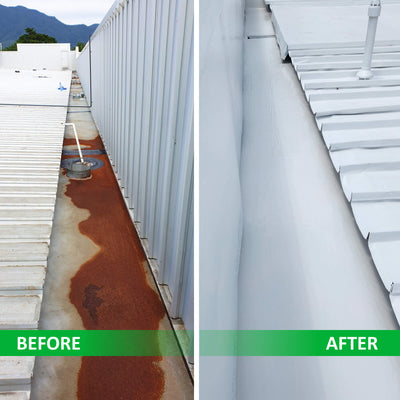
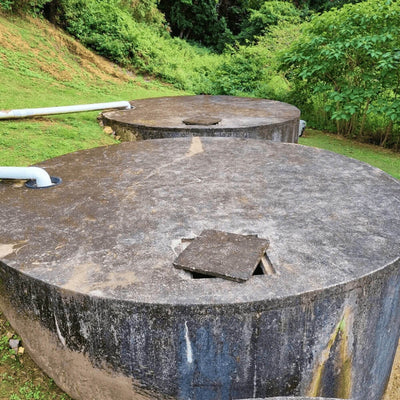
Application Examples
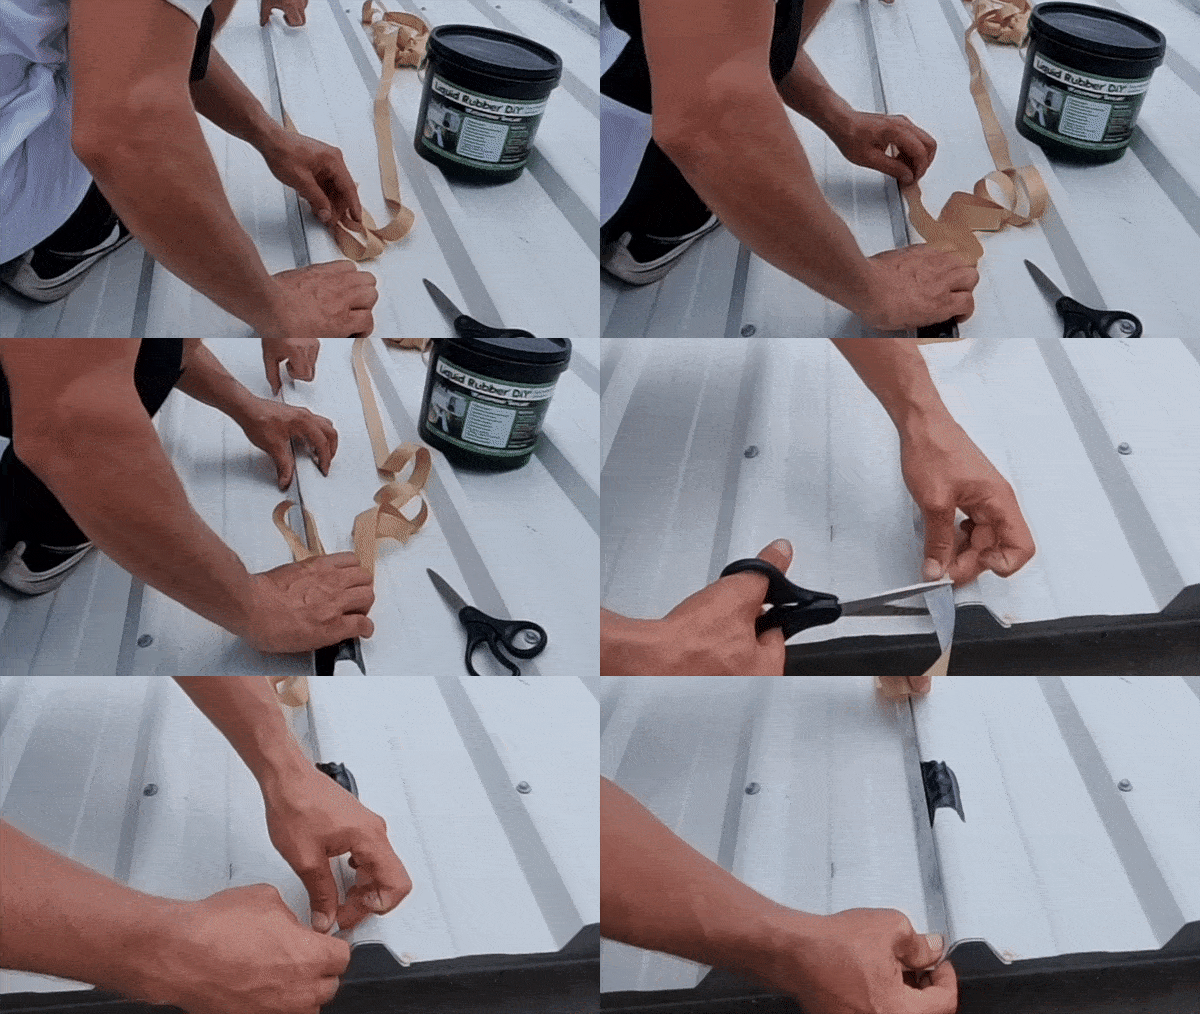
Use in conjunction with Liquid Rubber DIY Waterproof Sealant
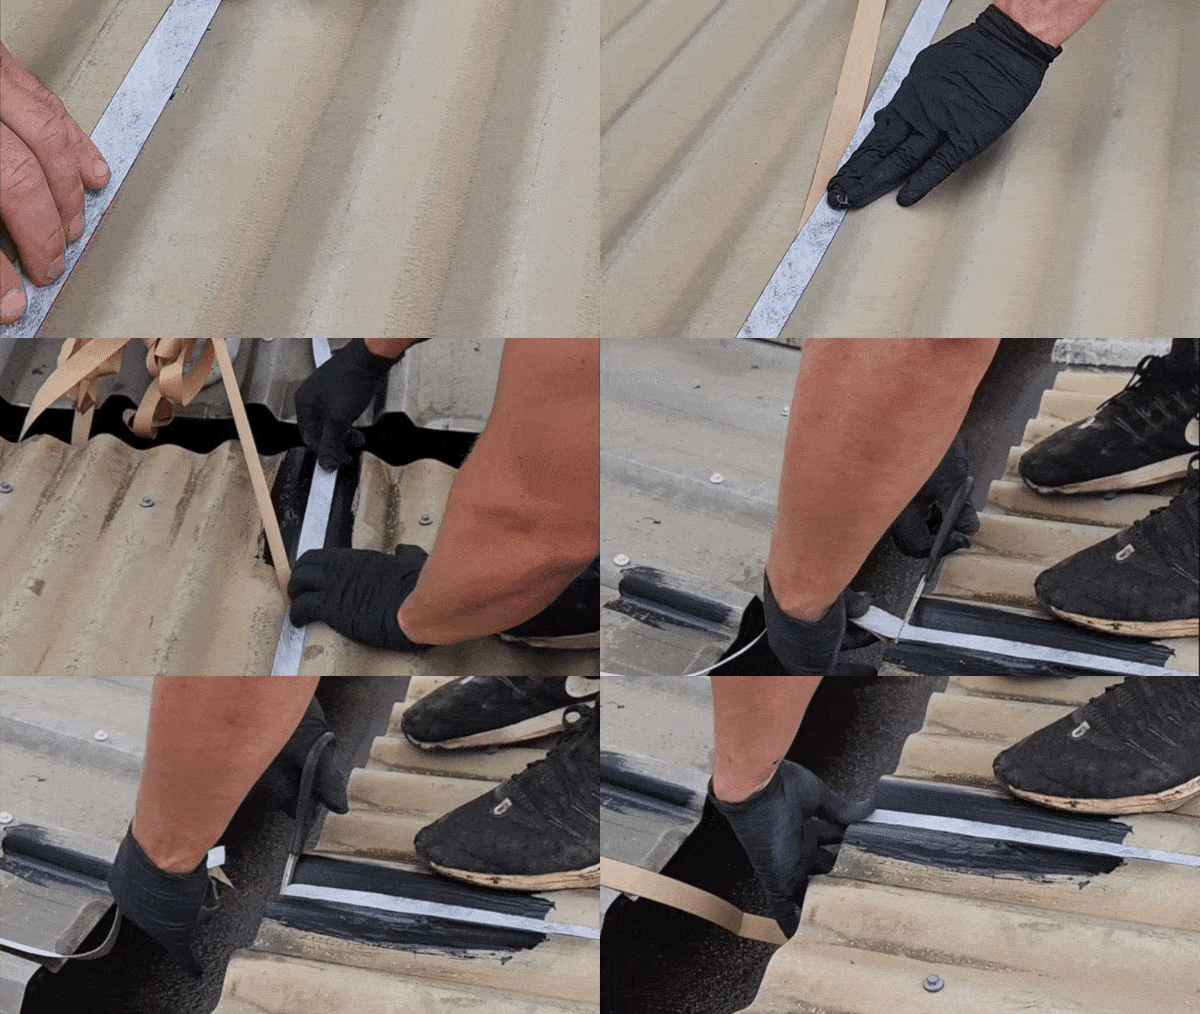
Use in conjunction with Liquid Rubber DIY Waterproof Sealant
Frequently Asked Questions
Application
- Metal roofs
- Concrete roofs,
- Box gutters
- Tanks and Throughs
- Planter boxes
- Retaining Walls
- Scopings
- Flashings
- Skylights
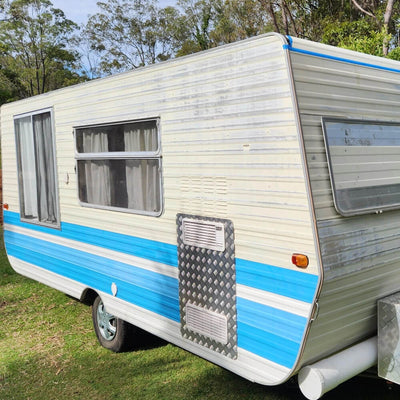
- Rv roofs
- many other
The Seam Tape is used to seal bigger cracks and holes and is an ideal waterproofing companion.
Our Liquid Rubber DIY - Waterproof Sealant can be applied directly over the Seam Tape for a optimal waterproofing outcome.
While it's not necessary to apply the Waterproof Sealant over it, we highly recommend applying 2-3 coats of waterproof sealant for optimal waterproofing results and longevity.
We ship our Products throughout Australia and New Zealand.
FREE SHIPPING APPLIED TO ALL ORDERS WITHIN AUSTRALIA
Expected shipment duration: 3-8 Business days within Australia and 6 -26 Days on New Zealand orders.
For larger orders, please contact us at info@liquidrubberdiy.com or use the Contact form.
General Questions
- Metal roofs
- Concrete roofs,
- Box gutters
- Tanks and Throughs
- Planter boxes
- Retaining Walls
- Scopings
- Flashings
- Skylights
- Rv roofs
- many other
The Seam Tape is used to seal bigger cracks and holes and is an ideal waterproofing companion.
Our Liquid Rubber DIY - Waterproof Sealant can be applied directly over the Seam Tape for a optimal waterproofing outcome.
While it's not necessary to apply the Waterproof Sealant over it, we highly recommend applying 2-3 coats of waterproof sealant for optimal waterproofing results and longevity.
No questions found matching your search. Please try different keywords or contact us for help.
