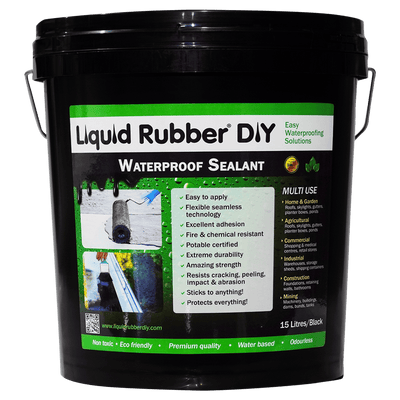
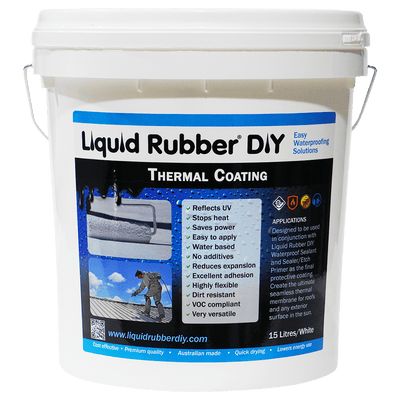
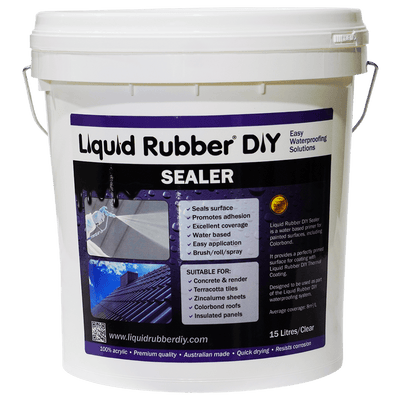
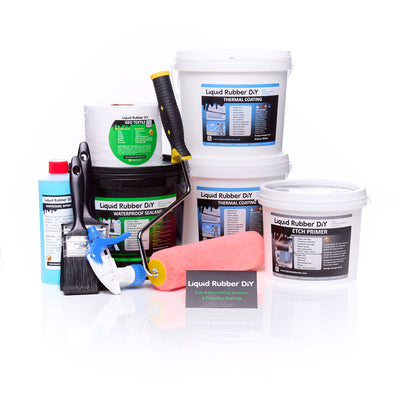
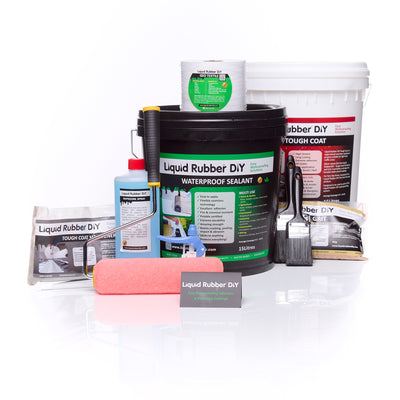
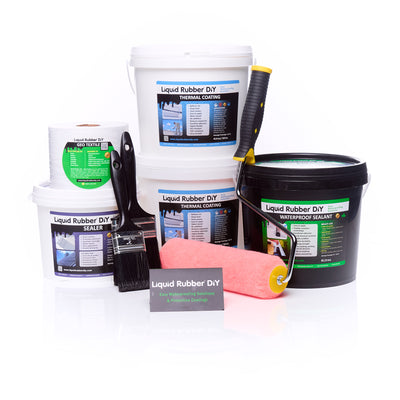
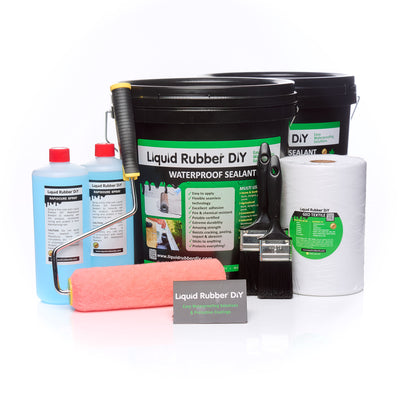
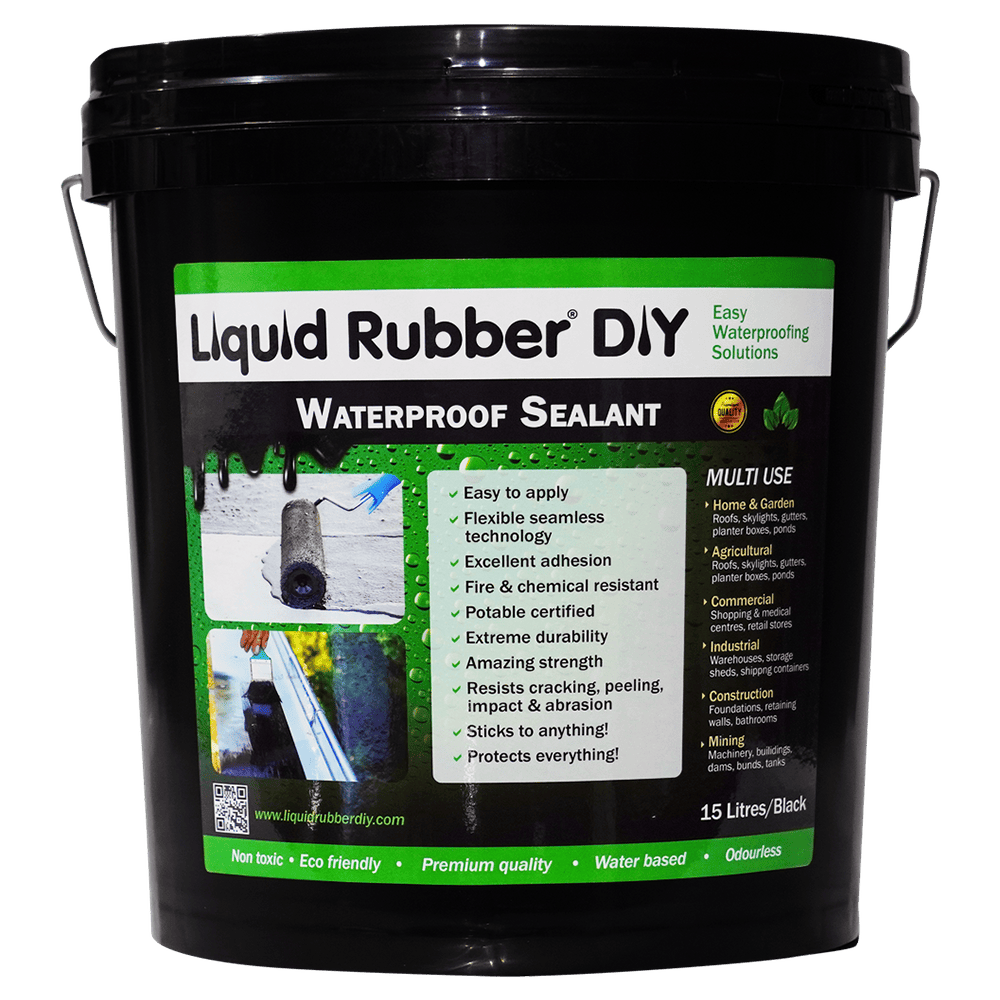
Liquid Rubber DIY Waterproof Sealant
Liquid Rubber DIY
Waterproof Sealant
Liquid Rubber DIY Waterproof Sealant is the easy waterproofing solution!
- Water-based
- Potable Water Certified
- Non-toxic
This Sealant is a simple, no-fuss alternative to conventional hot-applied or solvent-based waterproofing systems. This sealant is an easy-to-apply, multi-purpose, long-lasting, 100% Australian-owned.
Liquid Rubber DIY Waterproof Sealant is extremely stretchy (1800% elongation), flexible, and suitable for use on nearly any surface. Simply paint or spray on the sealant and watch as it instantly molds to whatever shape it's applied.
No primers are needed!
The sealant then dries to create a flexible and seamless waterproofing barrier that's resistant to cracking and aging.
COVERAGE CALCULATOR
Liquid Rubber DIY Waterproof Sealant
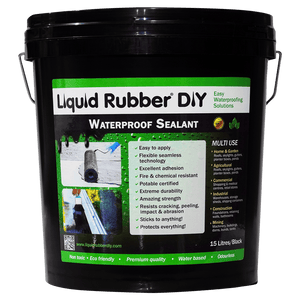
Liquid Rubber DIY Waterproof Sealant
Unmatched performance
Best Liquid Rubber Sealant Available
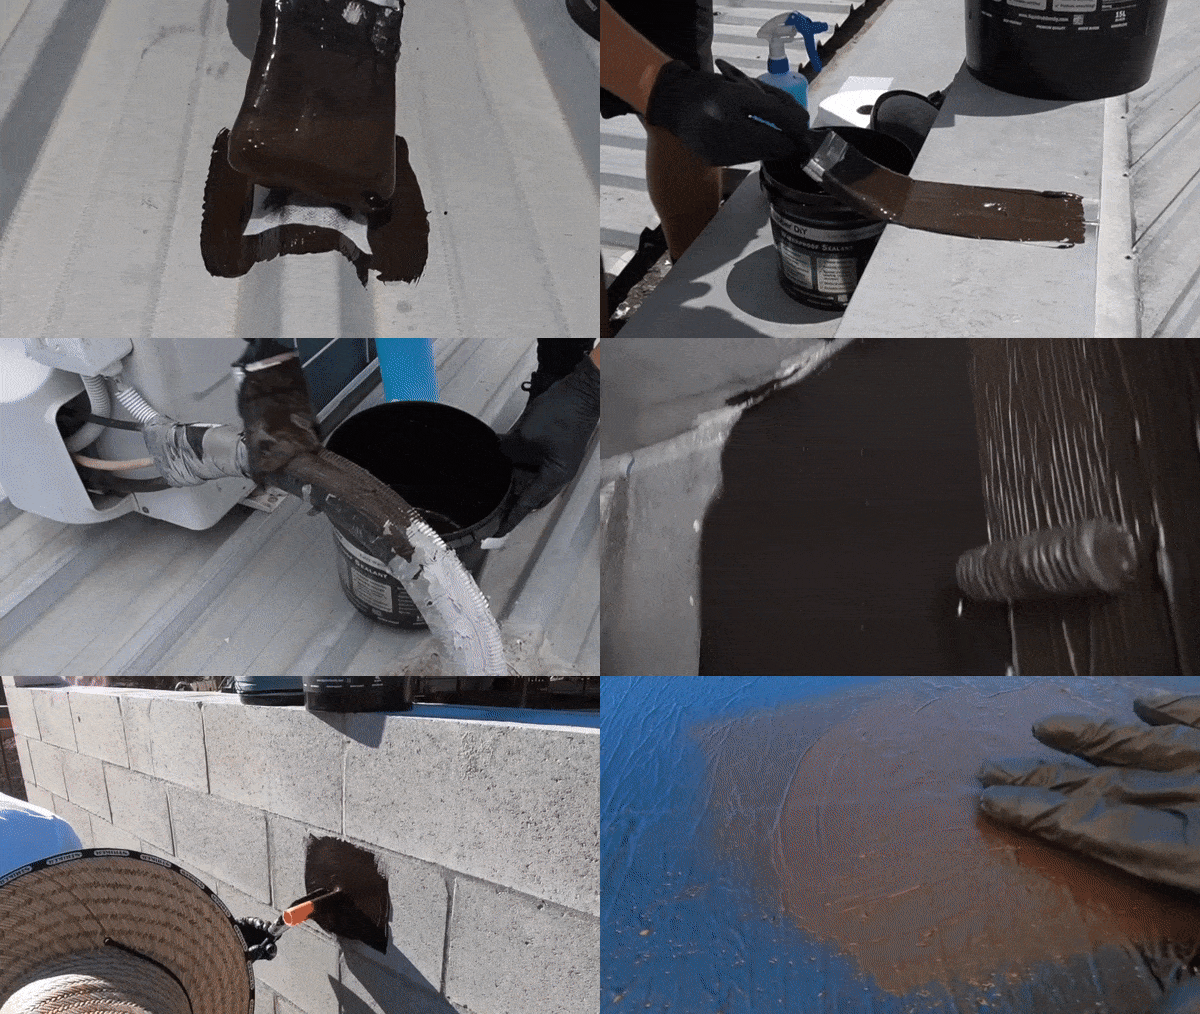
Easy To Apply
Effortlessly apply with a brush or roller - no primer required. Adheres to virtually any surface.
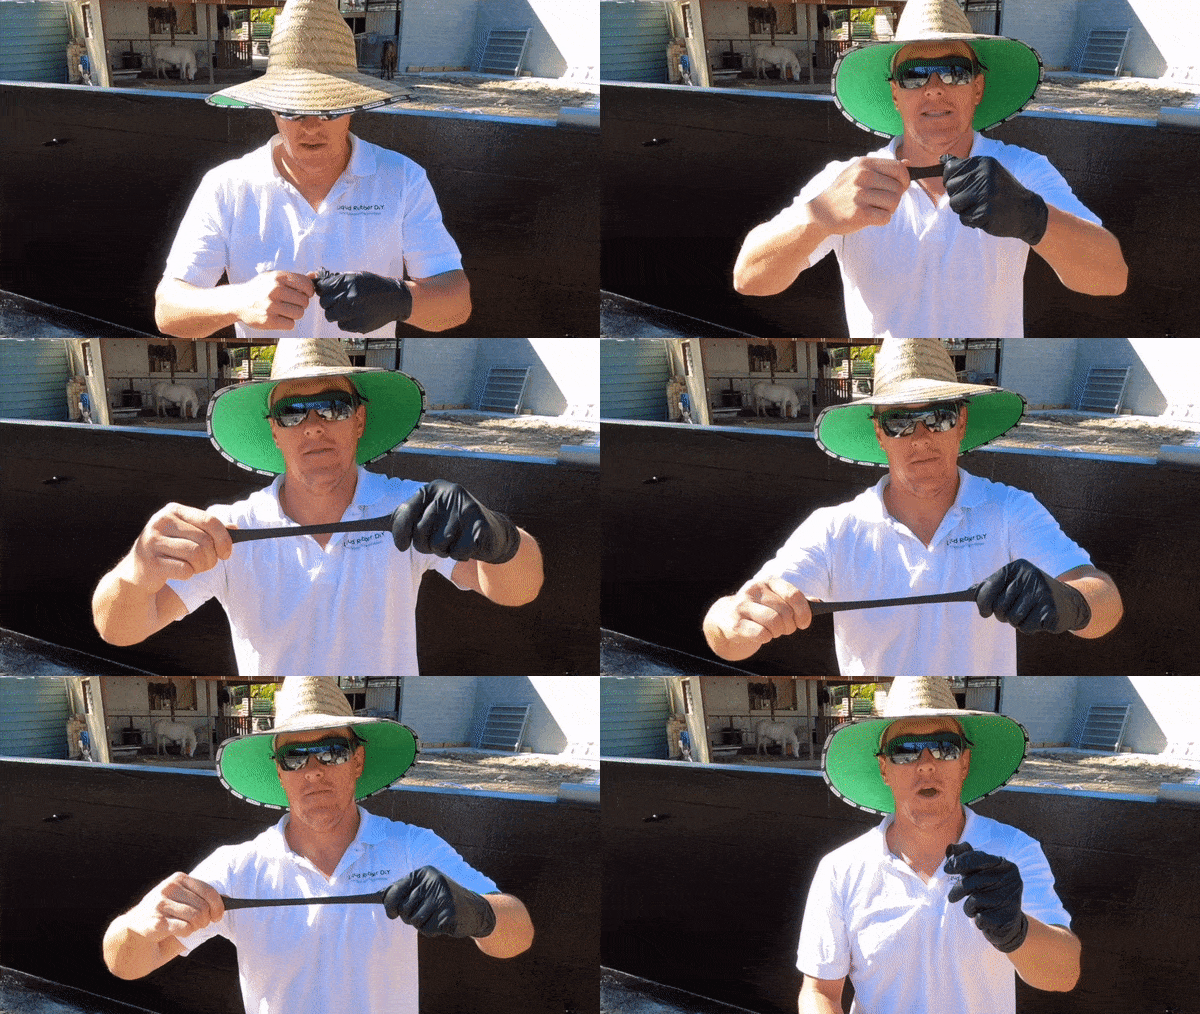
Stretches 1800%
Unbeatable durability and longevity. With 1800% elongation and 95% recovery, it resists cracking and aging
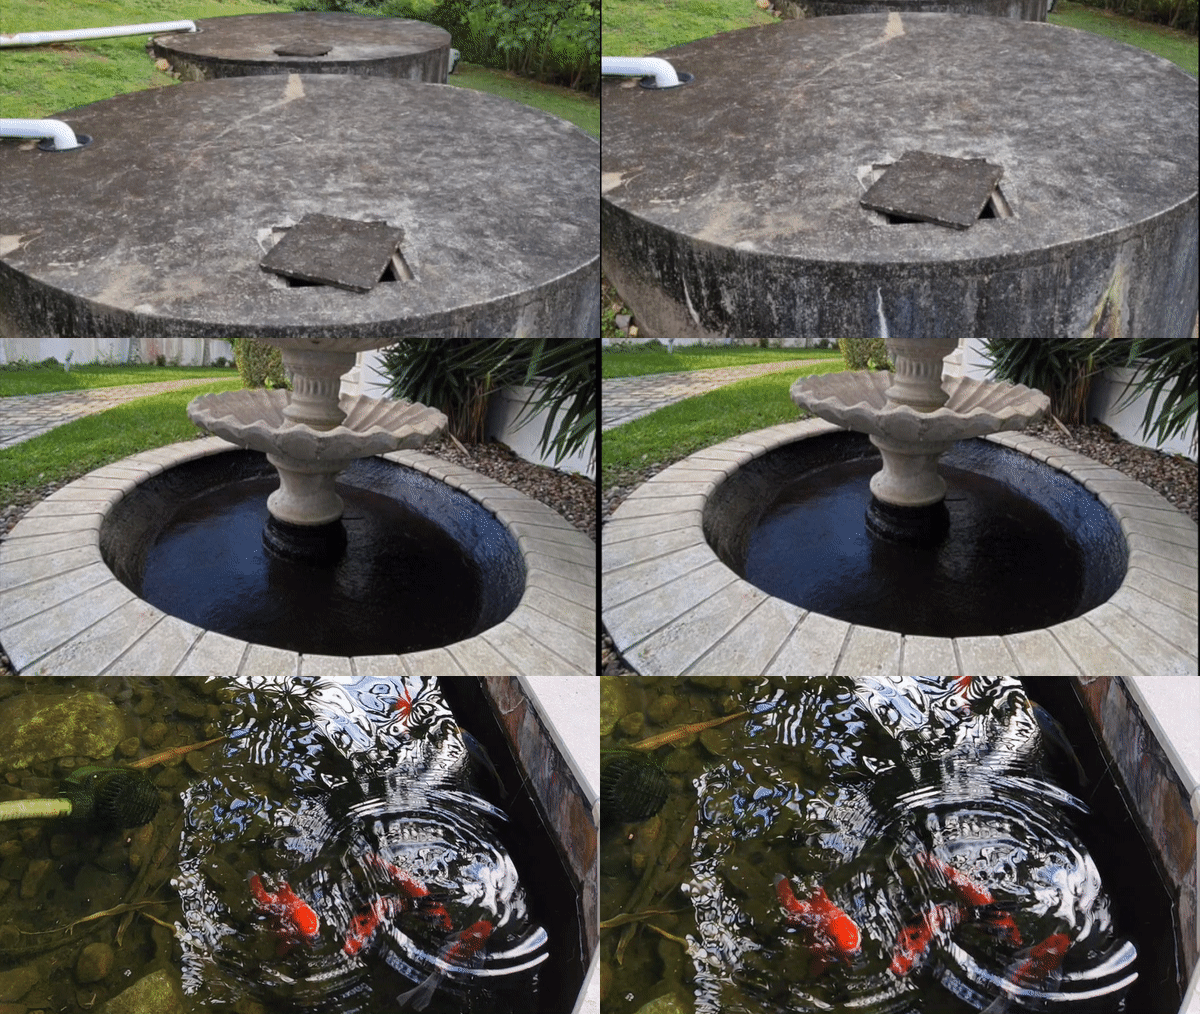
Potable Water Certified
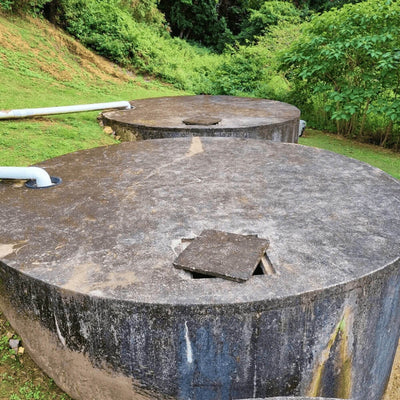
Safe for you and the environment. Our product is non-toxic, eco-friendly, and certified for use in potable water systems. Perfect for water tanks and fish ponds.
No Primer needed! Sticks to all surfaces without Primer!
Flexible, and suitable for use on nearly any surface. Simply paint or spray on the sealant and watch as it instantly molds to whatever shape it's applied. The sealant then dries to create a flexible and seamless waterproofing barrier that's resistant to cracking and aging.
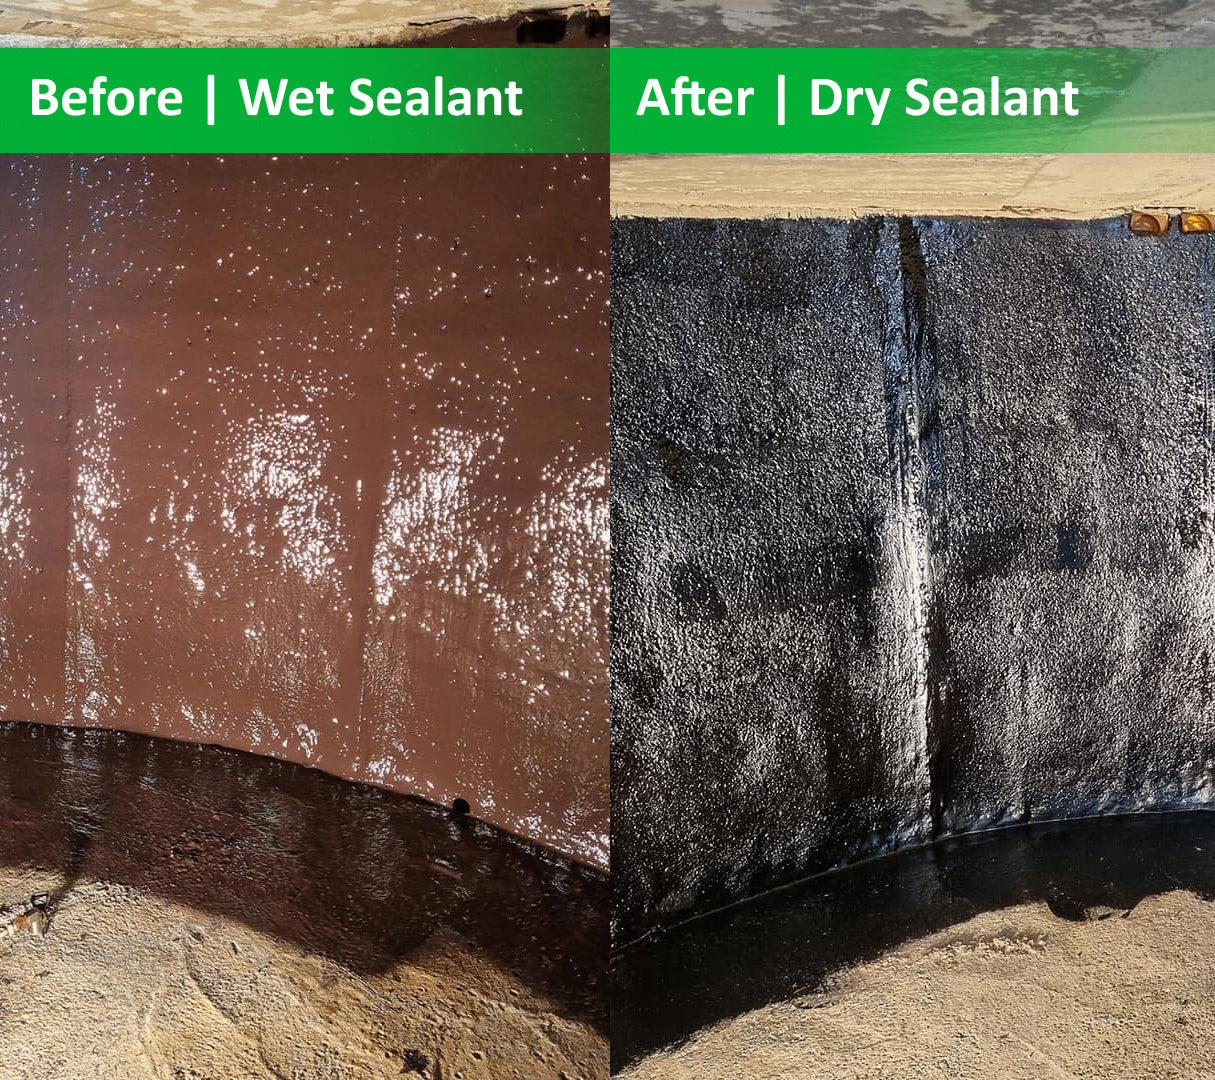
What colour is it?
The sealant initially appears dark brown but cures to a black finish.
Note: When Liquid Rubber Waterproof Sealant is immersed in water, it may appear slightly brown. Once fully dry, it turns to a deep black color.
Can it be painted over?
If you wish to paint over the sealant, apply one coat of our Primer / Sealer on top of the sealant first. This will ensure optimal adhesion and a smooth finish.
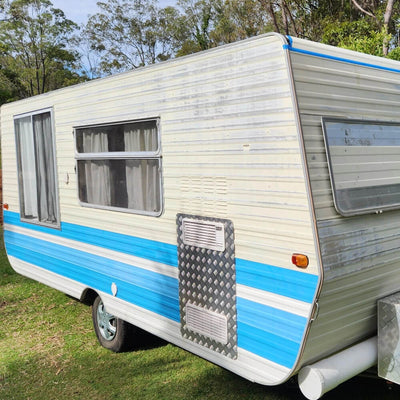
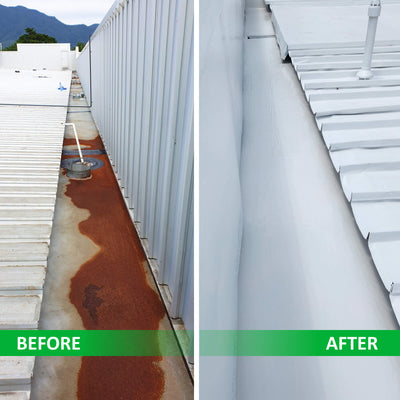
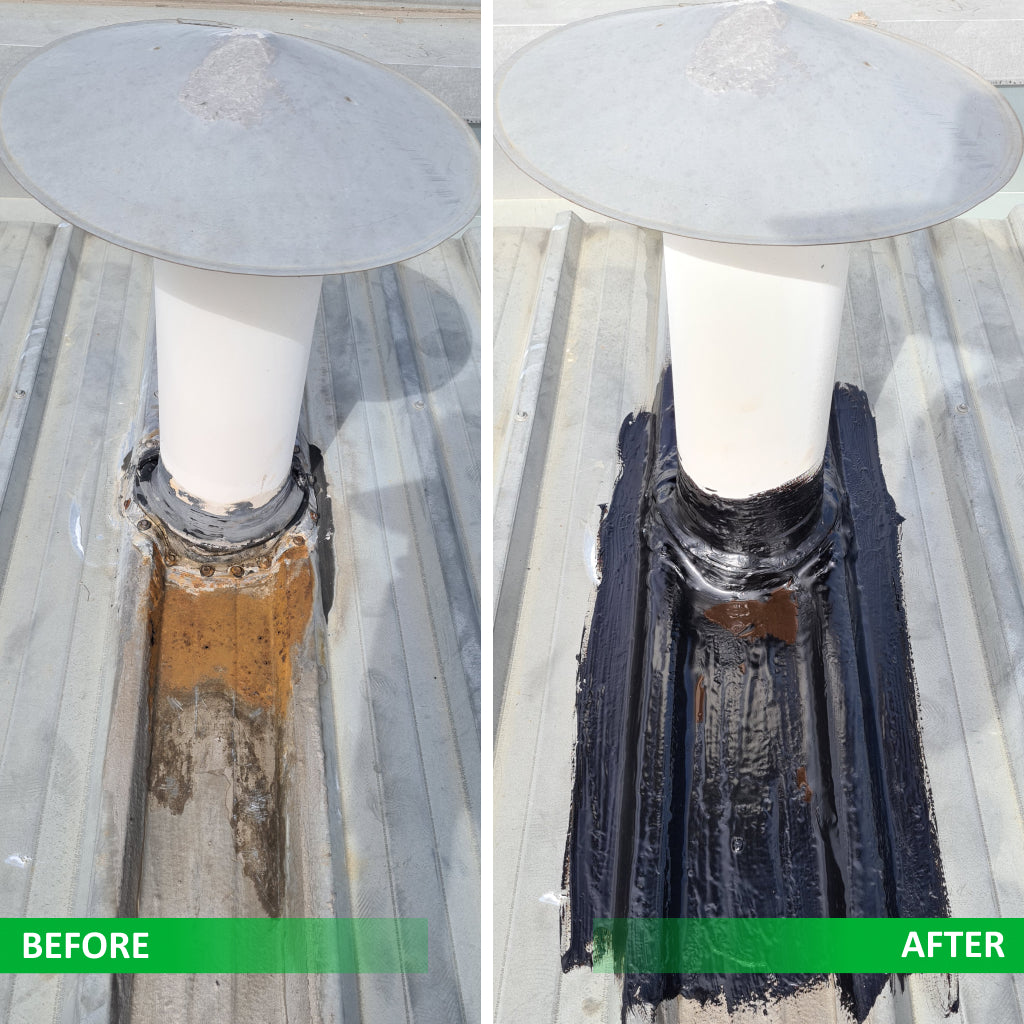
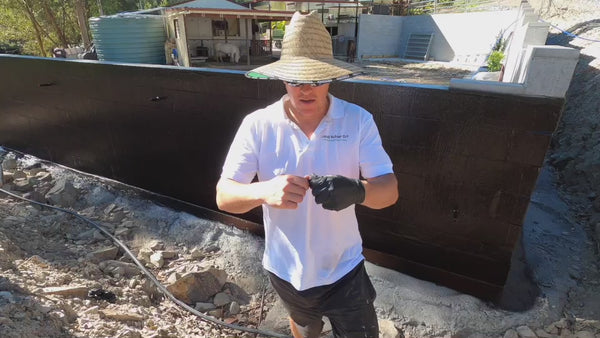
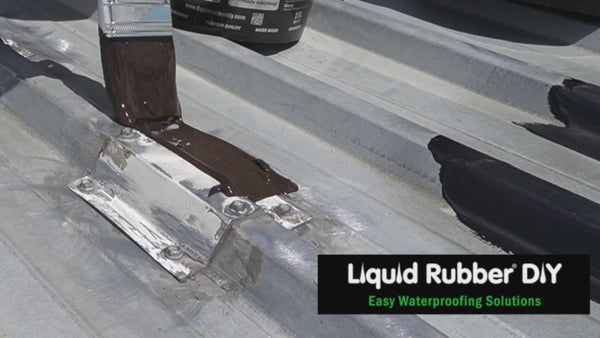
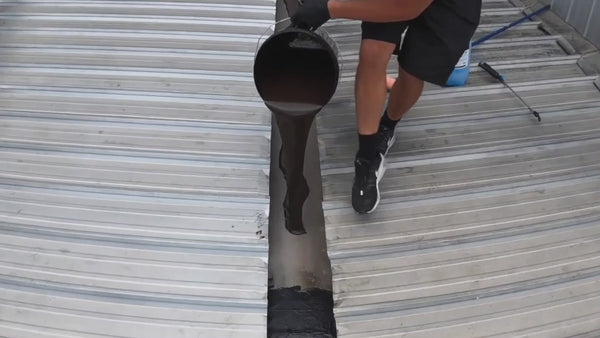
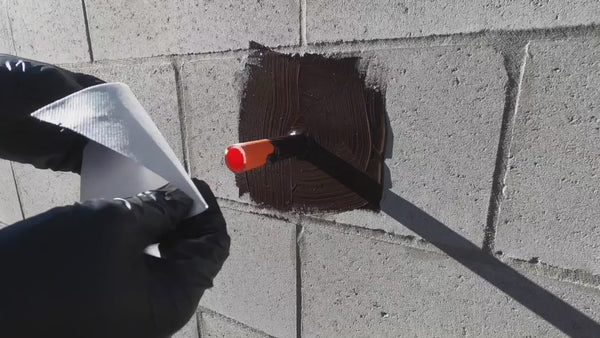
Application Examples
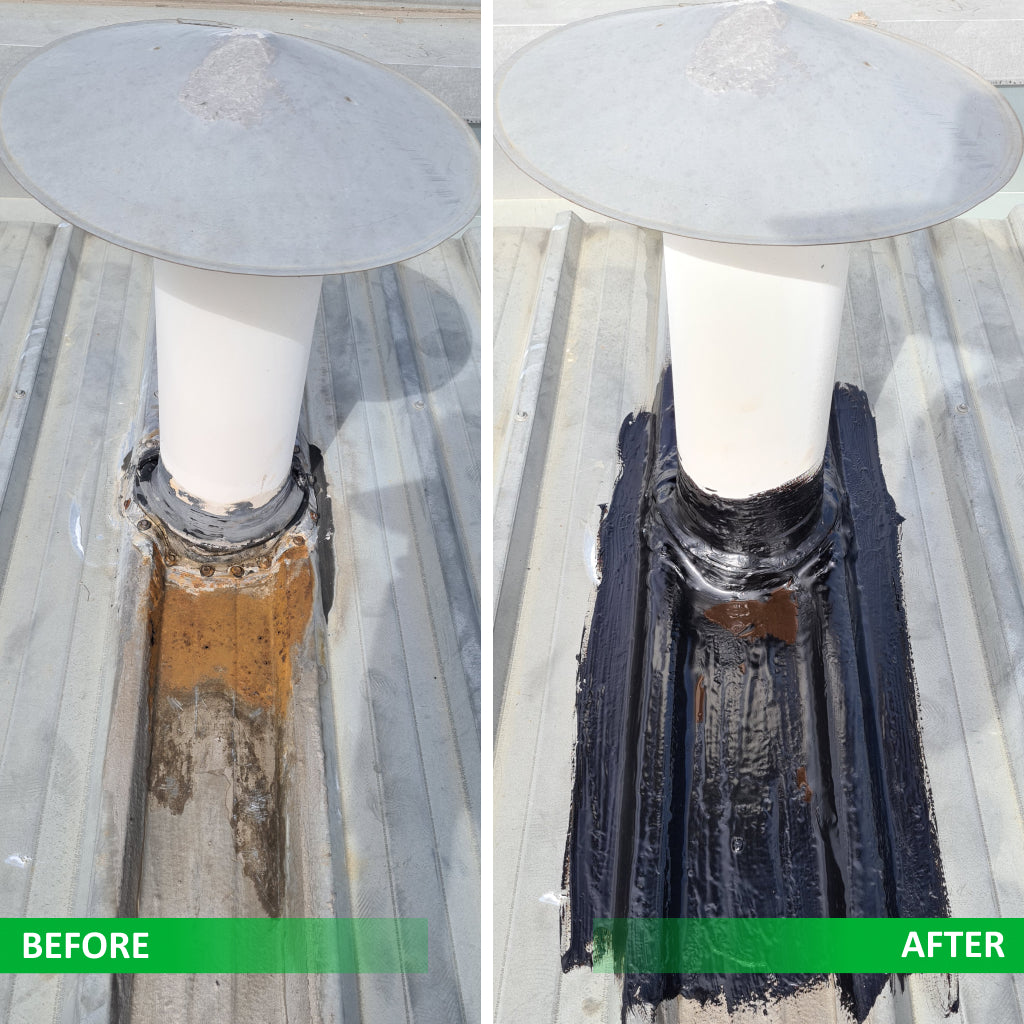


How to apply Liquid Rubber Waterproof Sealant
Real Waterproofing That Outperforms the Competition
While others overpromise and underdeliver, our solution provides genuine, lasting protection.
| Feature | Competitor Waterproofing | Liquid Rubber DIY Waterproof Sealant |
|---|---|---|
| Superior Waterproofing | ✖ Patchy application with potential leaks | ✔ Seamless, watertight membrane that prevents leaks and water infiltration |
| Flexible & Durable | ✖ Rigid coatings that crack under temperature changes | ✔ Remains flexible, expanding and contracting without cracking or peeling |
| Easy Application | ✖ Complicated process requiring professional installation | ✔ DIY-friendly application using a brush, roller, or sprayer—no special tools needed |
| UV & Weather Resistant | ✖ Degrades under harsh weather and UV exposure | ✔ Engineered to withstand intense sunlight, heavy rain, and extreme temperatures |
| Environmentally Friendly & Cost-Effective | ✖ Contains hazardous chemicals and comes with a high price tag | ✔ Water-based, non-toxic, and budget-friendly, extending the life of your roof without breaking the bank |
| Versatility & Low Maintenance | ✖ Limited adhesion and frequent repairs required | ✔ Adheres to various surfaces with minimal upkeep for long-lasting protection |
Frequently Asked Questions
Application
The Waterproof Sealant is applied at a rate of 1.5L / m2 for 2 coats.
- 15L Bucket covers 10m2
- 4L Bucket covers 2.7m2
- 1L Bucket covers 0.67m2
- Concrete & Render
- Metal roofs
- Box gutters
- Tanks and troughs
- Planter boxes
- Retaining walls
- Balconies and decks
- Most primed metals
- Clay or sand surfaces
- Cement and asbestos
1. Clean the surface thoroughly with a power washer
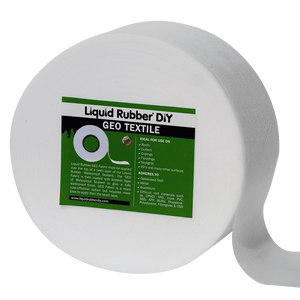
2. Apply Geo-Textile to cracks, holes, and joints
3. Apply 2-3 coats of Waterproof Sealant with brush, roller, or spray machine
4. Allow 24 hours between coats
5. Allow to cure for 7-10 days before filling with water
The Waterproof Sealant takes 7-10 days to fully cure, depending on temperature and humidity. In cold weather, it may take longer.
Store in a cool dry place. Keep out of reach of children. This product is a Non-flammable-liquid and does not present any storage or transportation hazards.
We ship our Products throughout Australia and New Zealand.
FREE SHIPPING APPLIED TO ALL ORDERS WITHIN AUSTRALIA
Expected shipment duration: 3-8 Business days within Australia and 6 -26 Days on New Zealand orders.
For larger orders, please contact us at info@liquidrubberdiy.com or use the Contact form.
General Questions
The Waterproof Sealant is applied at a rate of 1.5L / m2 for 2 coats.
- 15L Bucket covers 10m2
- 4L Bucket covers 2.7m2
- 1L Bucket covers 0.67m2
- Concrete & Render
- Metal roofs
- Box gutters
- Tanks and troughs
- Planter boxes
- Retaining walls
- Balconies and decks
- Most primed metals
- Clay or sand surfaces
- Cement and asbestos
1. Clean the surface thoroughly with a power washer
2. Apply Geo-Textile to cracks, holes, and joints
3. Apply 2-3 coats of Waterproof Sealant with brush, roller, or spray machine
4. Allow 24 hours between coats
5. Allow to cure for 7-10 days before filling with water
The Waterproof Sealant takes 7-10 days to fully cure, depending on temperature and humidity. In cold weather, it may take longer.
TDS & SDS
The Waterproof Sealant is applied at a rate of 1.5L / m2 for 2 coats.
- 15L Bucket covers 10m2
- 4L Bucket covers 2.7m2
- 1L Bucket covers 0.67m2
- Concrete & Render
- Metal roofs
- Box gutters
- Tanks and troughs
- Planter boxes
- Retaining walls
- Balconies and decks
- Most primed metals
- Clay or sand surfaces
- Cement and asbestos
1. Clean the surface thoroughly with a power washer
2. Apply Geo-Textile to cracks, holes, and joints
3. Apply 2-3 coats of Waterproof Sealant with brush, roller, or spray machine
4. Allow 24 hours between coats
5. Allow to cure for 7-10 days before filling with water
The Waterproof Sealant takes 7-10 days to fully cure, depending on temperature and humidity. In cold weather, it may take longer.
Store in a cool dry place. Keep out of reach of children. This product is a Non-flammable-liquid and does not present any storage or transportation hazards.
We ship our Products throughout Australia and New Zealand.
FREE SHIPPING APPLIED TO ALL ORDERS WITHIN AUSTRALIA
Expected shipment duration: 3-8 Business days within Australia and 6 -26 Days on New Zealand orders.
For larger orders, please contact us at info@liquidrubberdiy.com or use the Contact form.
No questions found matching your search. Please try different keywords or contact us for help.
